Showing posts with label medieval. Show all posts

Tuesday, 22 March 2022

My Medieval Base/BOD Rules Development Test


Having given everybody else's medieval rules a hard time, it's time to move on to my own! I've currently got two versions - a base/bucket-of-dice set and a Fate Dice set. I've also been toying with a D10 version, but that would probably just be a variation of the base/BOD set using D10 instead of D6s to give a bit more granularity between weapon types.

Both sets of rules share an order system similar to Poleaxed, and I've just added their idea of commander "aggressiveness" ratings (as well as competency) - so a unit gets given an order and then carries it out every turn - no hanging around waiting for command points. Lots of the other mechanics are borrowed from SLS, so per Battle card based activation, King+CPs for the CinC, troop quality. Movement is base+random. The games are, as ever played on a 10cm grid. It's really just the  firing/melee/casualty/morale model that's different.


For this version firing/melee is 1D6 per base, with standard DMs, and then an armour saving throw - seems sensible/suitable for medieval. Casualties are in bases, but I tend to mark them rather than remove them just to make the clearing up simpler (although for medieval shrinking frontage may be more important to show). 

I stole the morale model from Battlegroup:NORTHAG, so your break point is the number of units in a battle, and you roll D3 for each unit lost. So on average your Morale Hits == Break Point after 50% losses, but you could do better or worse.

Set Up

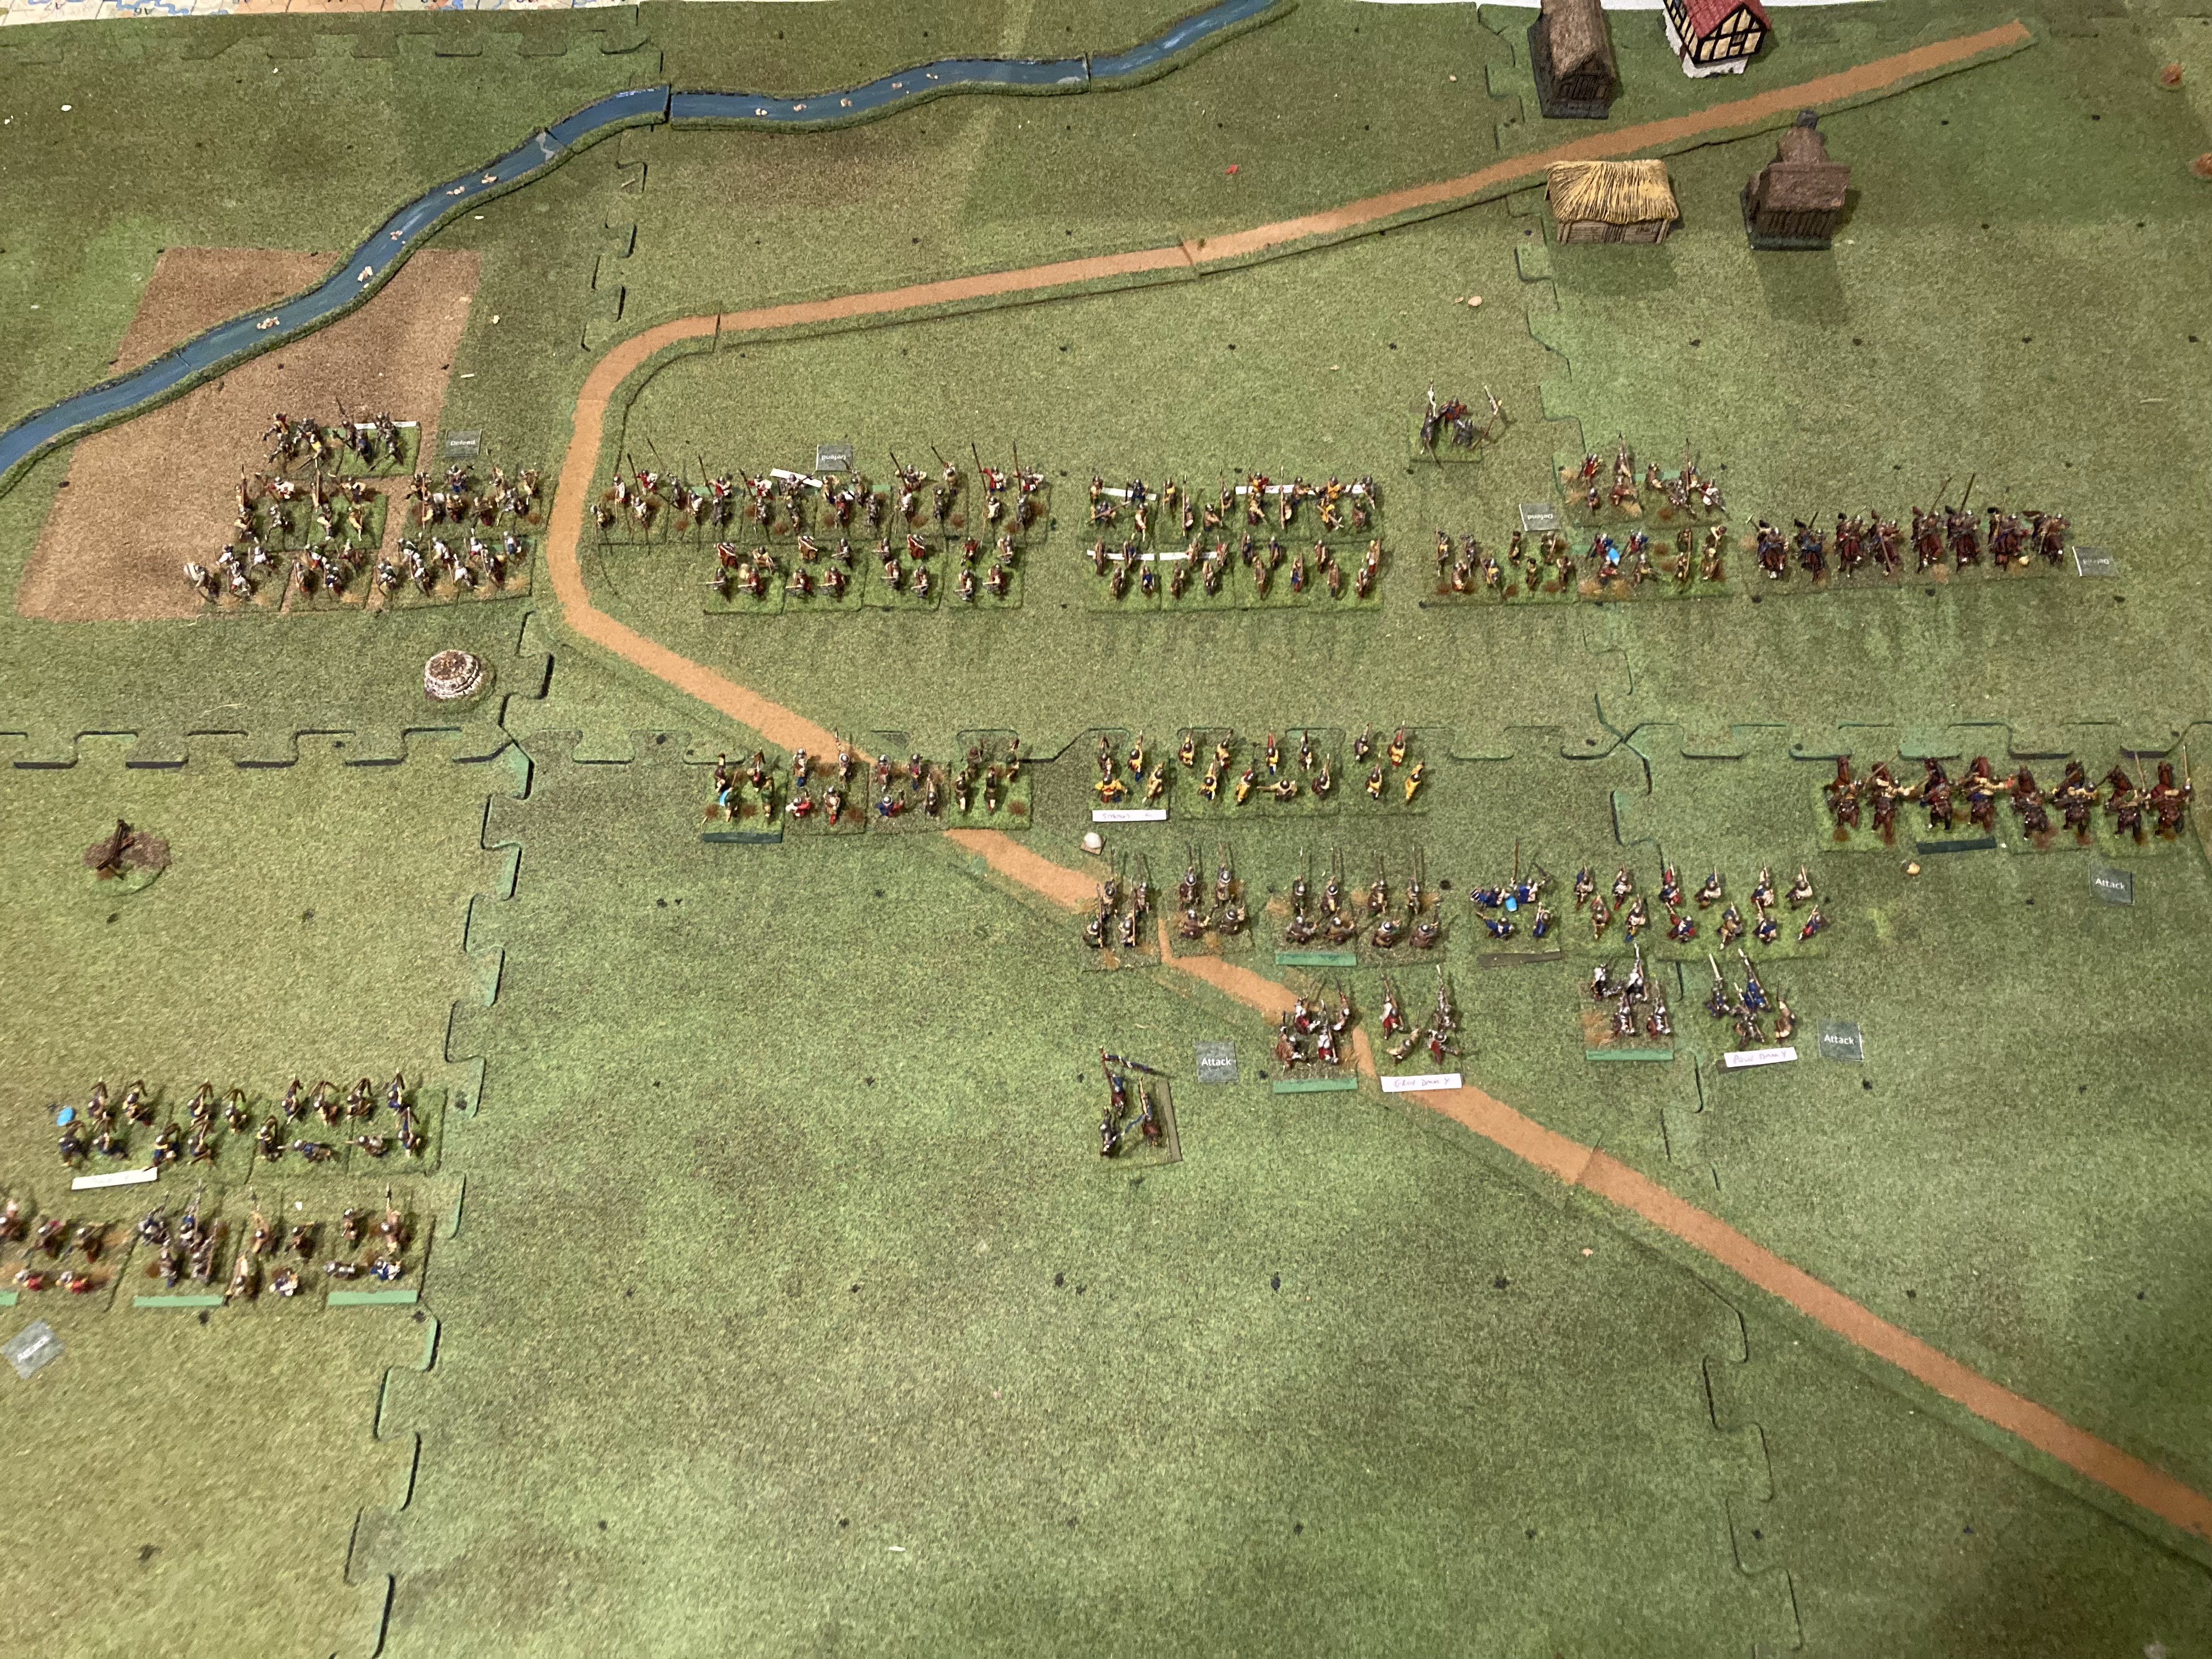
Battle of Tewkesbury again, straight fight. There was some drawing of fate cards before the game, which delayed part of the Yorkist Rear, and weakened some of the Lancastrian Van.


How It Played

The battles paired off against each other. Yorkists moved forward on Attack orders, Lancastrians stayed put on Defend. Both sides loosed a few arrows and then switched out missiles for bill for the melees. This went well for the Lancastrians in the Van and Main, less well in the Rear. Currours squared off against each other, the Yorkists getting by far the better of it before the cavalry broke to recover.


After a couple of melee turns things began to shake out. The Lancastrian Rear was the first battle to go. The Yorkist centre was very dicey, but held on with a morale/control test at 50% casualties. The Yorkish Van was almost completely wiped out though.


Both Commanders were getting stuck into the action, although neither brave enough to lead from the front rank. Both took flesh wounds, but as the Lancastrian Rear melted away for a brief moment Lord Wenlock was left exposed, but managed to hasten away before the Yorkists could take him. It was then Edward that ended up exposed as he had only his MAA around him as his center Battle failed. 


The Lancastrian Courrors came racing back, aiming at Edward but their Yorkists counterparts managed an intercept and finally wiped them out.


With two battles down it was time for Edward to withdraw, protected by what was left of his Rear.


Rules Impression

OK, I know they are my rules, and there's certainly past evidence on this blog of me being harsh about my own rules, but I think these played pretty well, and better than most of the sets I've tested. Certainly give me the sort of game and the sort of decisions I want when playing Medieval. Needless to say I tinkered with various things along the way, and still more to do. Particular areas to look at are:

  • Orders state post melee, and exploitation
  • Effect on battles when other battles break
Both of these I can look at also in the DFate version of the game.


Conclusions


So heading in the right direction. I'll update the 1 page QRS/rules-set if anyone wants to take a look.


Wednesday, 2 March 2022

Never Mind the Billhooks Rules Test


#6 in this series of 8 (!) medieval rules play-throughs.

Presentation

32pp downloadable PDF, including 8 pages of cards/tokens and a QRS. £6 from Wargames Illustrated. Really nice looking rule set, well laid out, and good pics/tutorials.


Set-Up

Time to move on from Barnet and out of the fog, so this one was based on the Battle of Tewkesbury, 1471. Lancastrians advancing from the N against the Yorkist line in the S. No fancy tricks, just a straight head to head.


How It Played

The Lancastrians advanced in the pre-game, but the poorly led Yorkist Rear Battle loosed it's crossbow belts a bit early and the game moved into its main phase. The Lancastrians aimed to get a few rounds of missile fire in before sending in their billmen. The Lancastrian Cuorrours saw off the Yorkist horse whilst the arrows flew. 

The Yorkists ended up being first out of the blocks, swopping ranks and sending Billmen and MAA in against the Lancastrians. In the Main Battle the Lancastrian bowmen tried to hold off the Yorkists, failed, then broke in the melee and took their bill with them. The Lancastrian Van archers wisely evaded and let it be bill on bill. Draw for the first round, but then the Yorkist MAA piled in and won the melee, and again Yorkist bow and bill fled. 

The Lancastrians still weren't quite broken, and in the next turn the Currours returned and fell on the flank of the Yorkist Rear Battle. The Yorkists lost units to this and the remaining Lancastrian Bill and MAA, and for a brief moment it looked like they might pull it off, but the last bill on bill melee finally went the Yorkist way and it was all over.


Rules Impression

The rules are set up for figure removal, and 1D per figure so I changed that to base removal (well marked) and 1D per base. That probably meant the game played faster but was no bad things. Activation is by battle by random card (my favourite), with some random cards for extra actions (although annoyingly they need a dice roll and another card draw when they happen). Missile fire is a straight roll to hit based on weapon/range, and a save based on armour, no real DMs. Melee is similar  roll to hit and save. There are morale checks triggered on various things (mainly 50% casualties). Losses trigger Morale Tokens, and once you have as many as you had units it's game over ( a basic loss = 2 tokens, so effectively 50% losses).

The rules make a big thing about Disarray and Daunted states, but the post-melee rules for the loser are such that I never triggered Daunted, it was all OK or routed.

A few weapons were missing (spear, handguns) and the QRS missed some key info but otherwise everything there for a normal game, and some extra rules for  mustering, and there are points values there if you need them.

Conclusion

Really good, played a lot better than any of the other rulesets, and a lot slicker and faster than Poleaxed - although not with the same level of detail. I think I'd tweak the random events mechanism, and add the Poleaxed orders system, and maybe something like the Battlegroup:Northag system for Battle breakpoints and a few other tweaks and I could have a near ideal system. Think that might be the #7 game.


Wednesday, 23 February 2022

Tactica Medieval Rules Test


#5 in this series of 8 (!) medieval rules play-throughs.

Presentation

88 pages of glossy A4, lots of pics and diagrams, 30 pages for the core rules. Authored by Arty Conliffe of Shako and Crossfire fame. £12.95 - good value for all the historic info and siege rules probably.

Set-Up

Last of the Battles of Barnet. Yorkists on the advance this time. Yorkist Van stalled though whilst their Rear swung across the battlefield to collide with the Lancastrian van. When the Yorkist Van then appeared in the rear of their Rear they were luckily recognised as friends! Meantime the York Main hit the Lancastrian Main but there was confusing as to who was who and the Lancastrian Rear likewise stalled when it came into the battle, so some initial opportunies lost!


How It Played

Fast and bloody. Melees usually meant one side of the other was a goner after 1 turn. The Lancastrian Currours unfortunately were in column ad hit two units in the flank at the same time, so didn't obliterate the York Van as fast as they might have done. The Yorkists were quickly eliminated and another Lancastrian victory. Think that gives them 3-0 for the runs, better than in 1471!


Rules Impression

Very simple, probably too simple. No real C&C, but dice for initiative, and take an increasingly negative DM if you keep winning (nice). Missile fire was a straight 1D per figure, 6+ to kill, no modifiers or armour saving throws. Based on unit size there are regular checks for Morale, , which if failed halts the unit. Melee again 1D per figure and your target is based on the enemies armour (no save for your own), from 3+ for unarmoured to 6+ for knights (but not shown on QRS!). Minor DM for quality. So with 16 figures that's 16 dice, and on 3+ probably 10 kills. Again there's morale checks at regular loss intervals (starting at 7 for a 116 man unit), but with 11+ needed to save a unit with 10 losses most unarmoured light units go on first round (EVEN IF FIGHTING OTHER UNARMOURED!). There's a morale test if you're routed through, but only if you already have casualties. Army break point linked to number of key units - and could be a race to that on both sides!


Conclusion

For a Conliffe set of rules I was expecting more. Lots of interesting support material but the core rules were just too simple for me, and using a bucket of dice/figure model. The fact that your armour doesn't save you from missile damage, and gets oddly treated in melee was just too weird. Back on the shelf for reference.


Friday, 14 January 2022

Bills, Bows and Bloodshed Rules Test


#2 in this series of 4 or 5 medieval rules play-throughs.

Presentation

32pp (? - no page numbers! no index!) stapled A4 book with glossy card covers. No diagrams, just some dense "tutorial" colour images at the end. Two copies (nice) of a 2 page QRS. VERY text heavy, not a single real table or even bullet point. Some nice info on livery colours though. Written by Barry Slemmings with Graham Towers. I picked my copy up from Barry himself at Salute. Available from him on eBay at https://www.ebay.co.uk/itm/144287669442

Had to go up to the loft whilst the game was in progress, so nice overhead shot!

Set-Up

Mortimer's Cross again, just hit reset after abandoning the Flower of Chivalry game.


How It Played

Far better. The Yorkist horse and bowmen ambushed the Lancastrian left flank. The Courror's brushed aside their opposite number and rode straight on to catch Warwick with only his own personal guard. Luckily Warwick is made of stern stuff and his DMAA managed to fight the Currours. The bowmen pinned the advancing Lancastrians allowing Yorkist Bow and Bill to start inflicting casualties. On the opposite flank the Lancastrian bow crossed the river, but by the time they got to an enfilade position the game was pretty much over. Just left of them, on the "home" side of the river the Lancastrian handgunners did a reasonable job of trading shots with the Yorkist archers. The main effort came as the Lancastrians hit the Yorkist line on an ~3 unit front. They had their best success on the right, alongside the handgunners, routing the Yorkist archers and getting in  a tussle with the second line bill. The other two units though were stopped by the Yorkist archers, who then let their bill and DMAA through to finish off the weakened Lancastrians. The final move of the game saw the lone penetrating Lancastrian bill unit make contact with Edward and his retainers just outside the village, but like Warwick he fought them off and victory was claimed.


Rules Impressions

I think that Bills, Bows and Bloodshed is one of those cases of having a good ruleset struggling to get out. As mentioned above the whole thing is really just solid text, with no nicely laid out tables to help grasp/find the key points. The QRS is basically the same text as the main rules with just some of the paragraphs dropped. The core rules are fine though, pretty classic 1D per stand, roll 4-6s or whatever to hit, plus saving throw. Movement is variable, 2 x Average Dice, which I like. Morale though has 11 triggers (and if more than one roll dice multiple times and choose worse - nice!) and 55 (!) modifiers. To be fair the rules say that once you get the hang of it you'll roll the 2 x Average Dice and if they're good assume a pass, and if possibly bad do the tests, which is what I did start to do, but even so. One issue is that the rules do account for almost every situation, and have lots of Nationality modifiers. 

There are two big (huge?) omissions:

  • There is no activation/command & control/ friction system. This is old school units do what you tell them unless they fail a charge morale test. A huge contrast to Flower of Chivalry that almost goes to the other extreme.
  • There seem to be no victory conditions or army morale, so every game is a game to the death?

On the plus side though the rules do allow you to have mixed bill/bow units (which modern research seems to suggest was possible/common), allows bow to fire into second ranks, allows bow to risk withdrawing through the bill behind and a host of other niceties which a lot of other rules miss - so Barry certainly knows his period (as befits a long time member of the Lance and Longbow Society) and gaming.


Overall

The rules are good enough though that I'm almost tempted to do my own QRS, or I might just steal a few bits for my own rules. If I as doing a QRS I think I'd do 2 versions, one a "quick play" which just pulls out the main DMs and loses lesser weapons/Nationalities, and one with everything. They would be though JUST tables, quick and easy to read. Despite the negatives the actual rules are as good as, and probably better than most medieval I've played, but just let down really badly by presentation.

Edward's turn to fight off the attack!


Friday, 7 January 2022

Flower of Chivalry Rules Test


The next cycle of probably 4-5 games are all War of the Roses based, testing out various rules sets. Christmas delayed getting it all going, and probably not helped by my first choice of rules - Flower of Chivalry (FoC).

Presentation

80 page pdf by the Canadian Wargamers Group, published in 1993! The rules only take up about 6 pages, with about 18 pages of useful background and 50 odd pages of scenarios and army lists. Probably worth the £15-£22 price just for the non-rules content. Simple text, no photos, simple diagrams, pretty old-school.


Set-Up

I used Mortimer's Cross (1641) as the scenario. The FoC scenario implies that the battle was fought E-W, with the Yorkists protecting the bridge behind them to the E. However this gives little depth and the Lancastrians have to reform after exiting the woods and hills to the W and the Yorkists having the river to their backs. Recent research seems to suggest that a N-S orientation was more likely, the  Lancastrians moving N from Hereford towards the crossing, with the Yorkists defending just to the S of it, so this is what I played.

Each side had 3 battles, each with about 3 elements (missiles, bill, DMAA), which took up all my WOTR figures. That gives about 1:25 figure to man ratio, and on a 6' x 4' table each 10cm square is about 50m.


How It Played

Not very well. The Lancastrians fought off the flank charge by the Yorkist Courrors and closed with the Yorkist line. There was an extended melee but after 2-3 hours play I lost heart.


Rules Impressions

Just didn't work for me. Having to decide on a Aggressiveness and the roll for BattleLust for every Battle every turn just seemed over the top - would have worked fine as a per game decision, but then still rolling every turn? There's something in the whole idea, but not in how it was implemented. Firing was pretty simple, roll under target, and the casualties being the number rolled if successful a nice idea. Melee ditto. Morale was a roll under a %, with a -10/20% off per stand lost. So the rest of the core mechanic were fine but the explanations, particularly about the command and control just all seemed so confusing, and the activation mechanism so tedious I just lost the will to play.


Overall

Worth buying for the source information and scenarios alone, but not for the rules.


Thursday, 4 June 2020

Medieval Rules Experimentation - Order Changes


With Kings of War failing to make the cut, and still not being 100% happy with my current in-house rules I decided to have a go at a new set with three main objectives:


  • Make stand based, as seems more "classic" and possibly better suited to the period
  • Enable units to mix bill and box as some recent research suggests that this was the case - given that an affinity would be raised locally, and probably train locally, and build its esprit-de-corps, so why split it when it gets to the battlefield
  • The big one, focus command and control on the CHANGE of orders, not assigning them. I get frustrated with a lot of rules which have limited activations as you end up with troops advancing off towards the enemy who then just stop in the middle of nowhere, or bow men who just don't fire. I also like the fact that some rules (including one of the WW2 sets) makes it harder to issues orders which are risky (eg charge) as against ones which are safer (eg withdraw).

I followed a bucket-of-dice model for combat (2 D10 per stand, 1 if damaged), stands eliminated once 2 hits. Pretty basic DMs for to-hit and to-penetrate. Melee uses to-penetrate only, with different weapon types, and all with different armour types. Troops randomly dice for quality when first needed (my now standard 2DFate model).

The orders list is below (original, now modified after playtest), with the roll needed for order change, modified by damage and quality and local commander. If a unit fails the change it FALTERS to reflect order confusion.


Order
Description
TM
STAND
No move, may fire at Short range, +1 melee
3+
FIRE
No move, may fire full effect
3+
MOVE&FIRE
May move and fire reduced effect.
4+
RECEIVE
No move, no fire, +2 melee
3+
MOVE
Move full distance twds tgt
5+
RUN
Move double distance, twds tgt,  -2 melee
6+
CHARGE
Double distance til in contact
7+
RALLY
No move/fire. Recover 1+DF DP, less last
0
WITHDRAW
Run back to lines or cover
%3+
FLEE
Run off table edge
%3+
FALTER
Auto if stopped in asslt.. No move/fire. -1 in melee.
NA


All units start on an order, and each side has one activation card per unit (not assigned) of which about 1/3rd allow order change (varied by commander quality). Cards are then shuffled and then drawn in turn, the relevant side either activating a unit on current order, or trying to change its order if allowed (I used picture cards for order change, 1-10 for normal activation). One thing I didn't expect but works well is that you can "sacrifice" an order change card in order to activate an important unit earlier on its current order.

Set-Up

I used a new iteration of my random table set-up rules which worked well. There are then "fate" cards which are diced for which made just minor changes to deployment and none to terrain, but which did bring on a rain storm which stayed the whole game, reducing bow, eliminating power and reducing movement.

Yorkists on L, Lancastrians on R. S to bottom.


How it Played

The Lancastrians were on the defensive and the Yorkists slowed slightly by the stream. Currours on both sides charged on the N flank and pretty much eliminated each other. They also made demonstrations against each others lines (reborn), but as small units facing a hail of arrows made little headway - seems reasonable. In the S Yorkists handgunners tried to get close, hoping the rain would stop, but took increasing damage and eventually routed. As the main body of Yorkist bill and DMAA came on they took damage but managed to make contact, the DMAA dispatching Lancastrian archers. Up to this point most orders were the starting ones, but now as risks and opportunities opened up order change became important, and both sides failed several roles, so the Yorkists failed to exploit, and the Lancastrian response was slowed - seems reasonable.

Advancing Handgunners (with too wet powder to use!)

The Lancastrian leader joined his DMAA (which was in reserve) and rushed to plug the gap in the line which the Yorkist DMAA had opened up - whilst Yorkist bill was in danger of breaking through a neighbouring unit. The two DMAA joined in melee and the Lancastrian leader was killed! 

The central melee

At the moment there is no instant surrender, but all troops take 1 damage so the Lancastrian force was, whilst substantially intact, notably weakened. The Yorkist DMAA was also spent though, and their Bill companions eliminated by two Lancastrian units. With the Yorkists only have one decent unit left, and the Lancastrian commander dead it was ENDEX and something of a draw.


Lancastrian DMAA flee, their commander having been killed

Analysis

Well I think that worked pretty well. Some tweaks required as ever but the C&C choices of where to play the order changes, and the friction that failures introduced worked well but nobody hung around for no reason doing nothing. Think I'll refine further and maybe try out for ECW. The stand and BOD mechanic was OK but needs a bit more work, still find BOD models very variable.

Some additional shots from the game...

Currours below a tower (built by Alan Martin)

Archers exchanging shots

Lancastrian Bill


Wednesday, 27 May 2020

Kings of War Playtest


Basileans left and Albion right


As well as being on the hunt for a set of Medieval Rules I like I'm also after a set of "fantasy" rules for when my Dark Material project finally gets going. Kings of War seemed popular and getting good reviews so I thought I'd give it a try.

Albion Handgunners await the battle

Presentation

I bought the "Gamers Edition" - which is for players and stripped of the world lore. 144pp softback, full colour and lots of pictures. However only 24 pages are the rules, the rest are Army Lists. Layout is OK, following the turn sequence of Movement, Ranged Attack, Melee Phase and Nerve. The rules are strict IGO-UGO.

Basilean Currours and Billmen

Set-Up

I've now got enough figures for 7 units a side (16 figs per unit except the Currours): 3 x Ranged, 2 x Bill, 1 x DMAA, 1 x Currour. I used Polemos ECW to randomly set the terrain (still not happy with a generic terrain set-up either), and randomly diced a scenario from KoW getting No. 2 Loot where 3 loots items are placed down the centre line, and the winner is the side controlling most at the end of the game (Turn 6 or 7). I also randomly generated the "stance" of each battle, which also effected what balance of units it got. That ended up with the Basileans attacking centre, with support on their L and hold on their R, and Albion attacking Basilean L, supporting centre and holding Basilean R.

Albion Archers

How It Played

(All flanks are Basilean)

Albion was quick off the mark on the L, taking the first loot despite constant arrow fire from the Basileans. They then pushed on with their main force to take on the Basilean Billmen defending the stream (not a good tactical or strategic move) and took til the end of the game to dispatch them, whilst the loot was shuffled off to the rear.

Basilean Archers


In the centre the Basileans got there first, but was taking damage from the Albion handgunners. A battered group of archers escorted the loot back, whilst the DMAA and Billmen went after the handgunners and finally routed them.

The melee about to develop by the ford, Albion on L, Basilean on R


On the R two archer units faced off against each other - with a hill in the way and the loot on the hill and both on hold orders. Both got bored and legged it for the hill. The Basileans got their first but the Albion archers were advancing and firing, chasing them down the hill and then into melee - which Albion won. Taking the loot from the Basileans the Albion archers tried to beat a retreat but the remaining Basilean units in the centre swung R to be ready to taken them in the flank - but that exposed their own flank to the remaining Albion billmen in the centre who, in the last turn of the game, charged the Basileans, routed them and by stopping them from seizing the loot from the archers secured the game for Albion.

The fight in the centre developing

Rules Impression

Very much a fast play set of rules, only 1 or 2 DMs for shooting, no friction and solid IGO-UGO - so a unit can advance, and attack (even melee) before the enemy can fight back.  It's also very much bunch-of-dice, typically rolling 8-15 to hit, then 1/3rd of those to damage, then another 2 for Nerve - too many for me. Very restricted movement as well (any pivot is a whole turn). Damage also does not affect effectiveness, so even with 10 damage your fight as though full strength, although your chances of rout are almost 100% the next time you take damage.

Albion billmen about to pounce on the exposed Basilean flank

Ouch - that's a lot of damage - double dice (so 24!) for flank attack

Probably fine to introduce someone to the game, particularly if coming from Warhammer, but not really for me.

The search continues.....


Tuesday, 22 January 2019

Bloody Barons - Playtest


I finally got around to playing Bloody Baron which I bought some time last autumn in my search for a good set of Medieval rules. Since they were stand based I knew they were unlikely to be a winner for me, but as many others have said they do have a nice pre-game section. Mind you rolling about 144 dice (!) to do it seems a bit much! The results of the pre-game were:


  • A marsh moved from one table side to the other
  • A couple of Yorkist units got extra arrows
  • A couple of Lancastrian units arrived late
  • One Lancastrian unit deployed on the wrong side of the wood
  • One Yorkist unit deployed on the baseline.

The central melee which lasted the whole game!


In summary the Yorkists advanced on the Lancastrian line. On the flanks both sets of bowmen got to grips with each other (the Lancastrians having found their way through the wood). In the centre two groups of opposing billmen rapidly came to blows. A fairly drawn out struggle then ensued with lots of rounds of no hits or all saves. The turn countdown (nice feature) progressed quite rapidly. Both sides lost a bow unit (on opposite flanks) from enemy fire (the Yorkist one going in one turn), most Morale rolls resulted in no result until a Lancastrian unit routed in one turn, the battle in the centre ground down til only 3 stands were left, and by the time the clock ran out the Yorkists were up by 2 units but only 1 actual stand (the final Lancastrian reinforcement having only just arrived!).

ENDEX


It was a fairly small game, needed to be at least twice the size for flavour I expect, but it did give a chance to test the rules.

Likes:
  • The pre-game, but could be way simpler
  • The countdown clock - but pretty fast
Dislikes:
  • Stand based damage
  • Having to count leader separation  distances on every unit activation
  • Bucket of dice model gave huge swings in results
  • Archery generally quite ineffective
  • Overall quite hard to cause damage (i.e. to hit and then have opponent fail save)

So not one I'll play again as a whole I expect, but may well steal a few ideas.


I was hoping to then play The Perfect Captain's Coat of Steel but a) the rules looked incredibly context and b) Deborah needed the table for a meeting. Might save Coat of Steel for a retirement project as it looks like you need the time to immerse yourself in the milieu - which is probably also true for Bloody Barons.